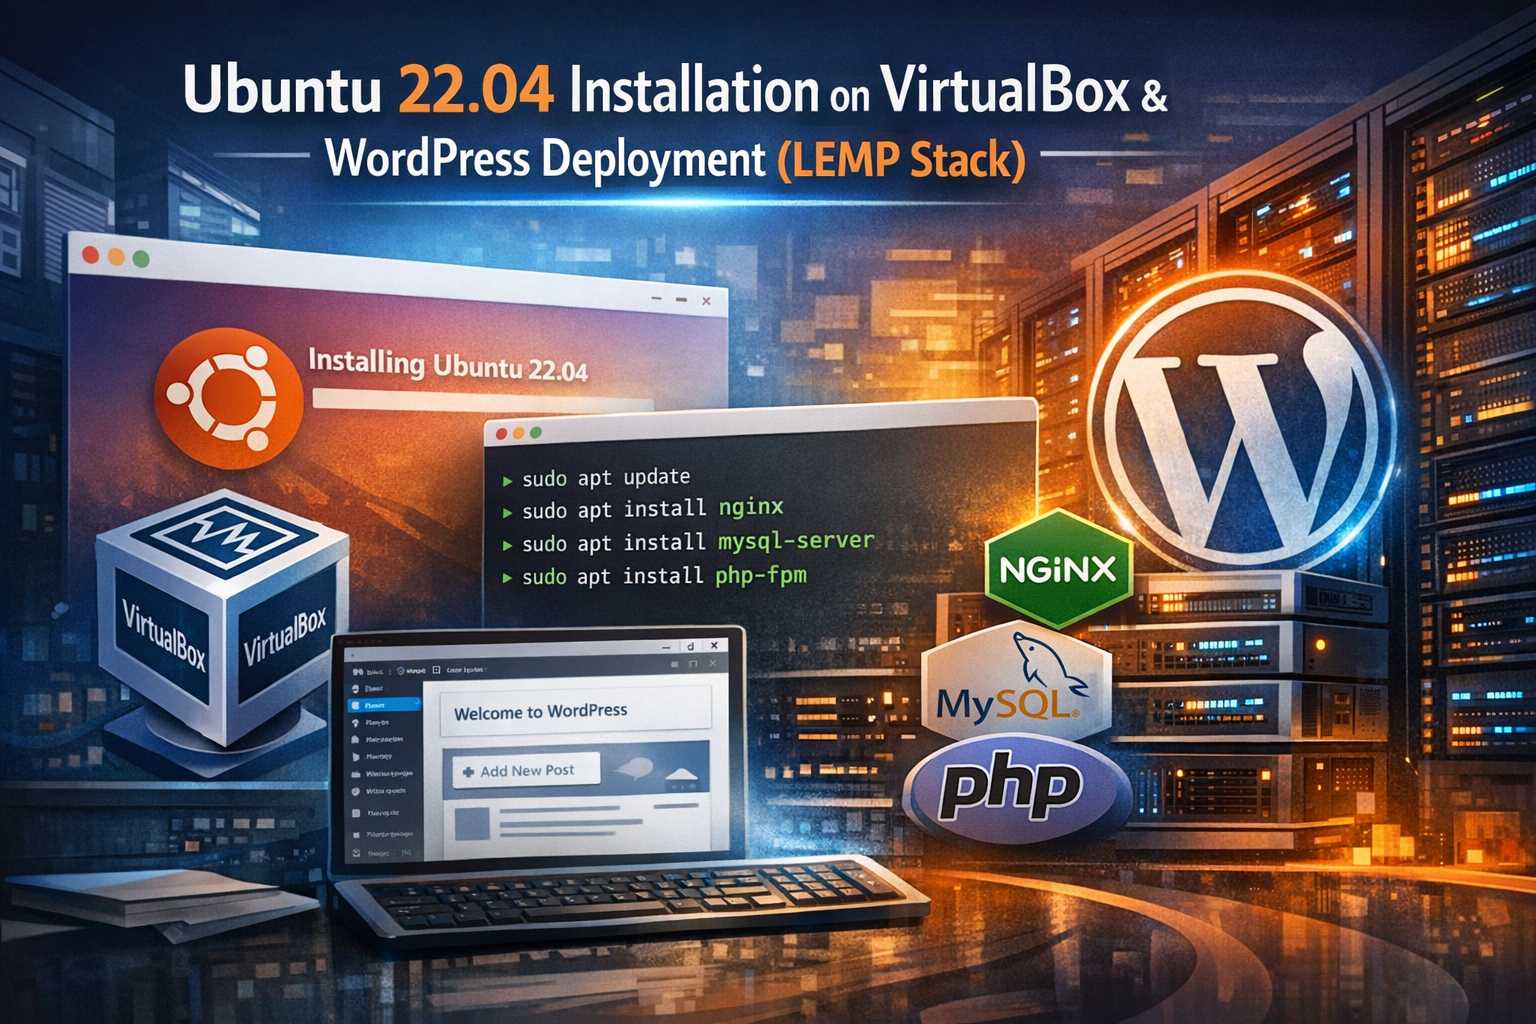
Step 1: Install Ubuntu
Download the Ubuntu 22.04 image from the official website: ubuntu-22.04.5-live-server-amd64.iso
Installing Ubuntu 22.04 in VirtualBox is straightforward. After installation, you need to enable SSH by running the following commands in the terminal:
sudo apt update sudo apt upgrade sudo apt install openssh-server
Check the SSH service status:
sudo systemctl status ssh
Allow SSH connections through the firewall: sudo ufw allow ssh
Step 2: Deploy the LNMP Environment
Install the LNMP one-click installation package on Ubuntu.
To avoid slow network speeds, an offline installation package is used here (about 1.59 GB). Download the offline package lnmp2.1-full.tar.gz in advance and upload it via SSH to the /home/vboxuser directory.
When installing offline, MySQL cannot be installed using the binary option and must be compiled from source. Run the following command in the SSH terminal:
tar zxf lnmp2.1-full.tar.gz && cd lnmp2.1-full && ./install.sh lnmp
The virtual machine network mode is bridged by default. Later, it will be changed to NAT (Network Address Translation). On Windows, open CMD and run:
ipconfig /flushdns
to refresh the DNS cache. Then, in the VirtualBox network settings: – Change the network mode to: NAT.
Add the following three port forwarding rules:
| Rules | Protocol | Host IP | Host Port | Guest IP | Guest Port | Remark |
|---|---|---|---|---|---|---|
| Rule1 | TCP | 192.168.56.1 | 22 | 10.0.2.15 | 22 | SSH |
| Rule2 | TCP | 192.168.56.1 | 80 | 10.0.2.15 | 80 | HTTP |
| Rule3 | TCP | 192.168.56.1 | 443 | 10.0.2.15 | 443 | HTTPS |
Open an incognito window in Chrome and visit the domain pointing to the virtual machine (for example, faust.local) to confirm that it is accessible. Use SSH (port 22) to enter the virtual machine terminal and deploy an SSL domain certificate locally using mkcert:
sudo apt install mkcert mkcert -install
Create a new directory /sslcert under /home/vboxuser/ and enter it:
sudo mkdir /home/vboxuser/sslcert cd /home/vboxuser/sslcert
Bind the domain certificate to the local IP of the virtual machine:
mkcert faust.local "*.faust.local" 127.0.0.1 localhost ::1
Then:
cd ~/.local/share/mkcert cp rootCA.pem /home/vboxuser
Download rootCA.pem from /home/vboxuser, change the file extension from .pem to .crt, double-click it, and install it into the browser.
During installation, choose the certificate store location as Trusted Root Certification Authorities.
Step 3: Install the Website
cd /home/vboxuser lnmp vhost add
When adding the virtual host, choose to deploy your own SSL certificate and provide the following two certificate paths (note the order of cert and key):
/home/vboxuser/sslcert/faust.local+4.pem
/home/vboxuser/sslcert/faust.local+4-key.pem
This will successfully add the virtual host and bind your own SSL certificate to the domain. Next, upload the WordPress installation package to the website root directory and install a new WordPress site using the database connection settings defined when adding the virtual host. ## Notes To upload files to the server directory, temporarily grant root ownership to the vboxuser user:
sudo chown -R vboxuser:vboxuser /home/wwwroot/www.faust.local
During website installation, temporarily grant root ownership to the www-data user:
sudo chown -R www-data:www-data /home/wwwroot/www.faust.local
sudo chown www-data:www-data/home/wwwroot/www.faust.local/wp-config.php
If file write permissions are insufficient:
sudo chmod -R 755 /home/wwwroot sudo chown -R www /home/wwwroot
After the website is successfully installed, when upgrading or installing plugins and themes from the admin dashboard that require FTP access, run the following command first to avoid FTP credential prompts:
sudo chown -R www:www /home/wwwroot/www.faust.local